Note: Single sign-on is a paid feature, available as part of the Business upgrade package. Learn more about Terraform Cloud pricing here.
» Single Sign-on: Microsoft Azure AD
The Microsoft Azure AD SSO integration currently supports the following SAML features:
- Service Provider (SP) initiated SSO
- Identity Provider (IdP) initiated SSO
- Just-in-Time Provisioning
For more information on the listed features, visit the Microsoft Azure AD SAML Protocol Documentation.
» Configuration (Microsoft Azure AD)
- Sign in to the Azure portal.
- On the left navigation pane, select the Azure Active Directory service.
- Navigate to Enterprise Applications and then select All Applications.
- To add new application, select New application.
- In the Add from the gallery section, type Terraform Cloud in the search box.
- Select Terraform Cloud from results panel and then add the app. Wait a few seconds while the app is added to your tenant.
- On the Terraform Cloud application integration page, find the Manage section and select single sign-on.
- On the Select a single sign-on method page, select SAML.
- In the SAML Signing Certificate section select Add a certificate.
- Select New Certificate.
- Select Save.
- In the SAML Signing Certificate section (you may need to refresh the page) copy the App Federation Metadata Url.
» Configuration (Terraform Cloud)
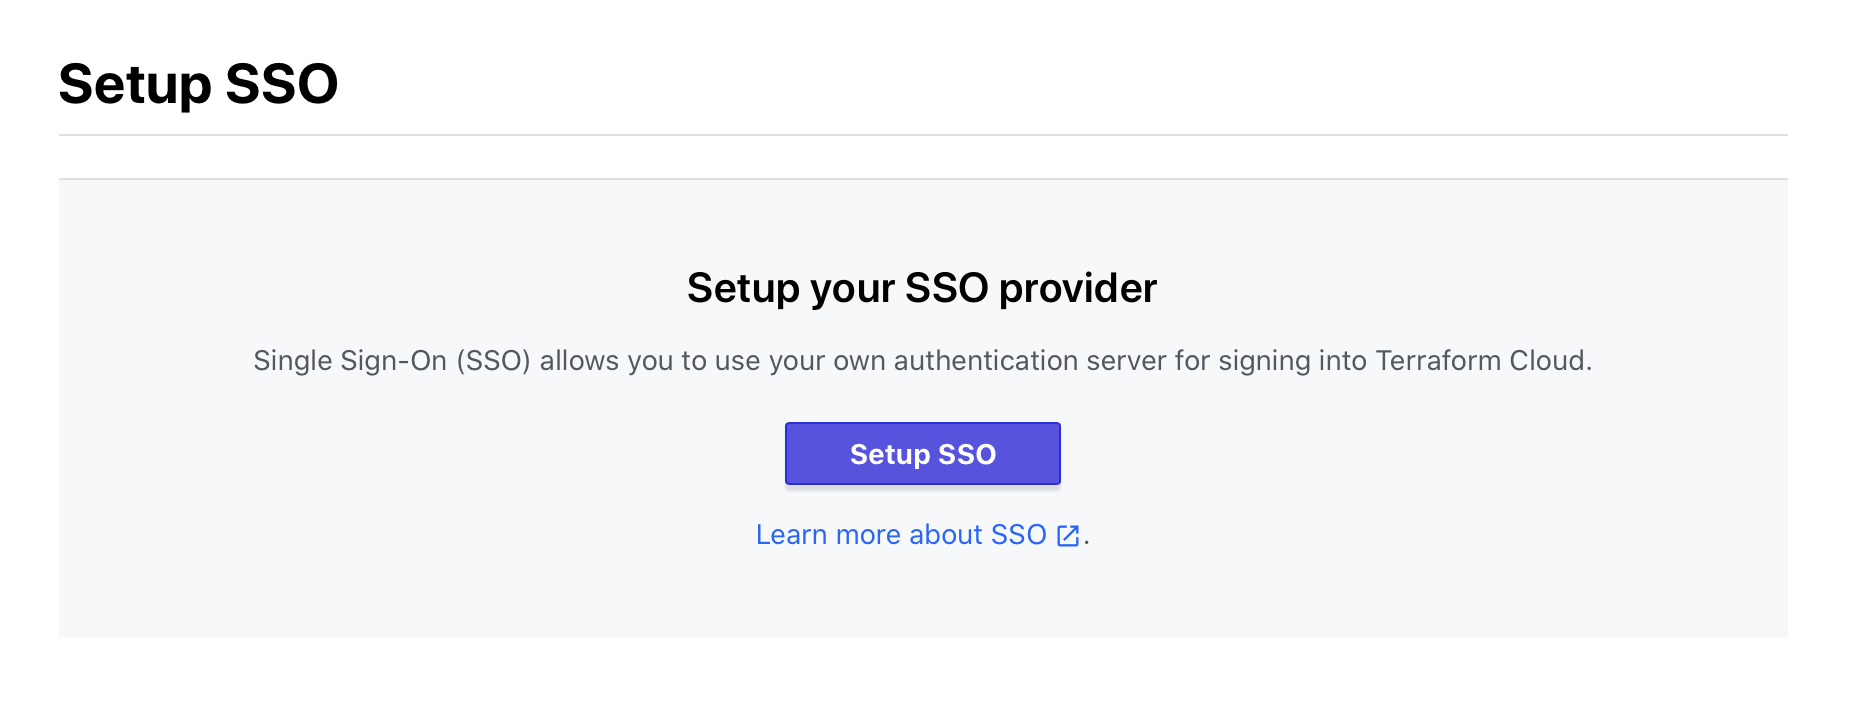
Visit your organization settings page and click "SSO".
Click "Setup SSO".

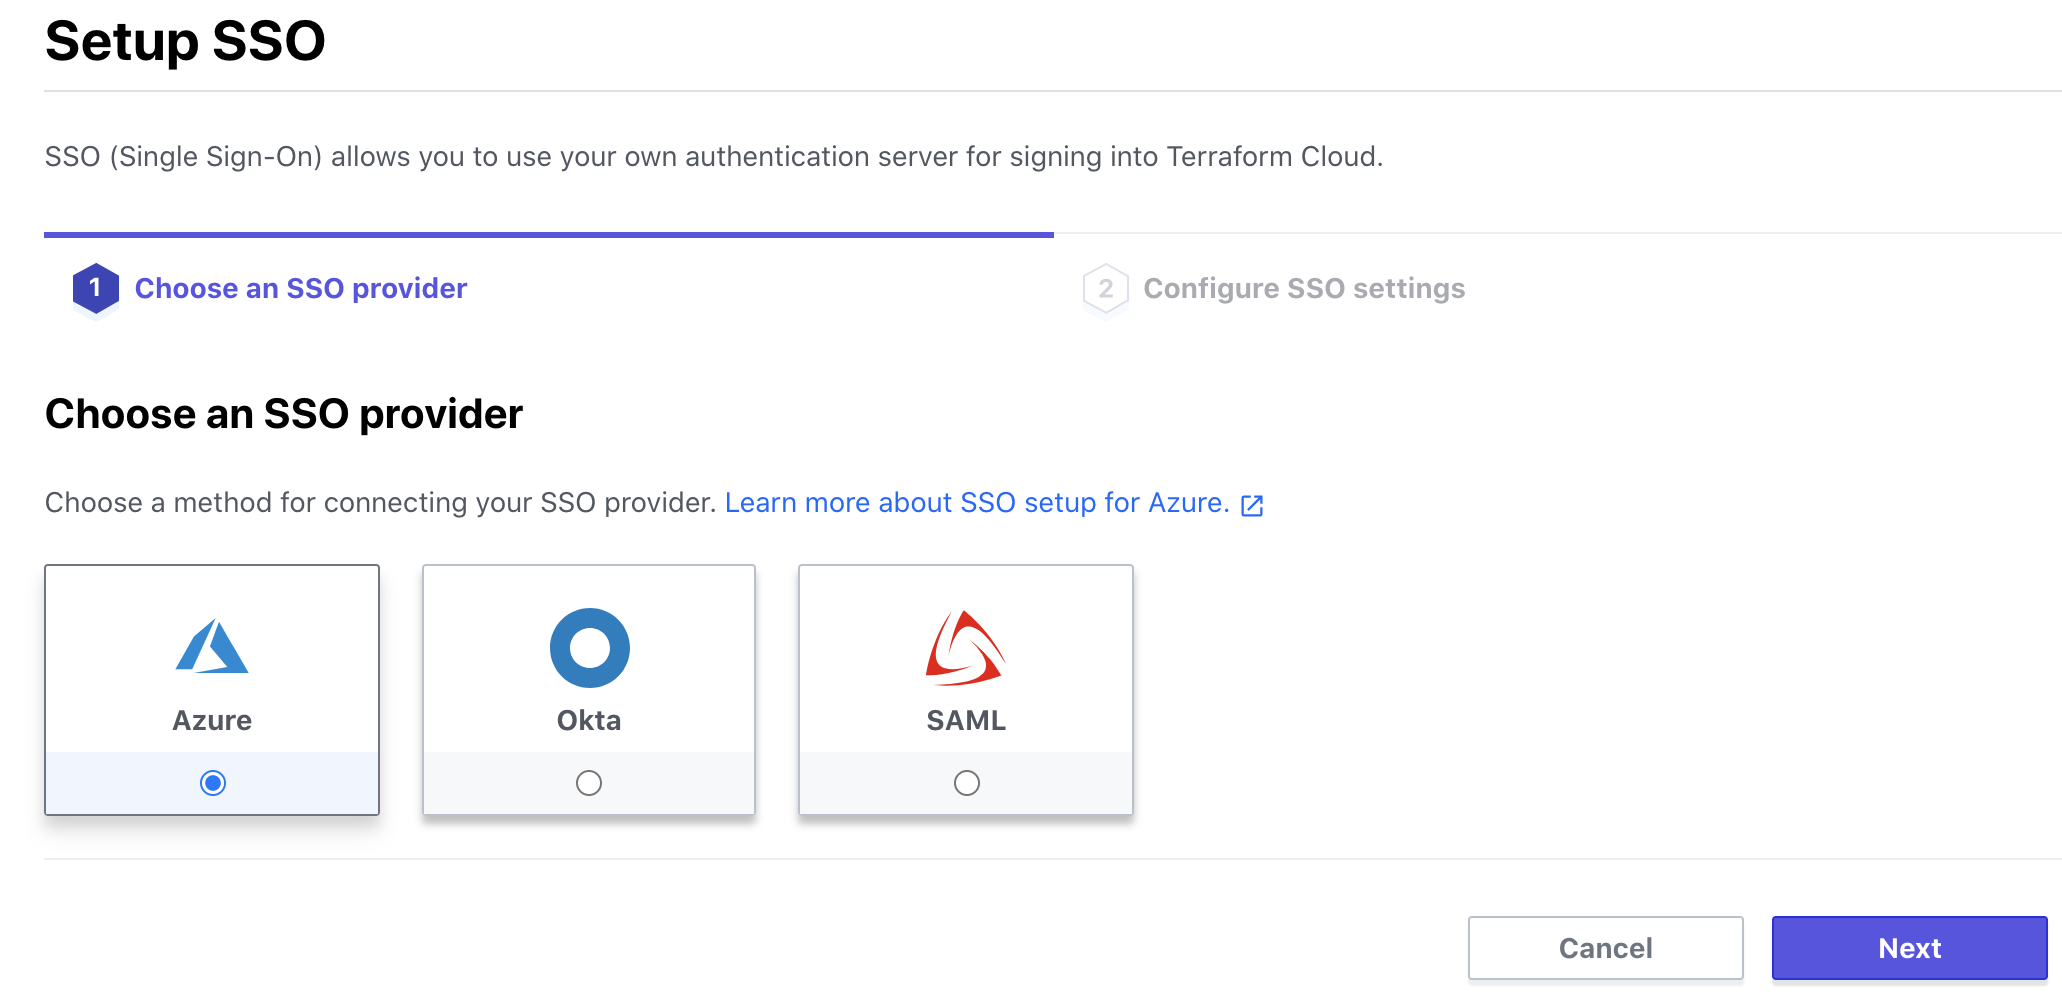
Select "Azure" and click "Next".

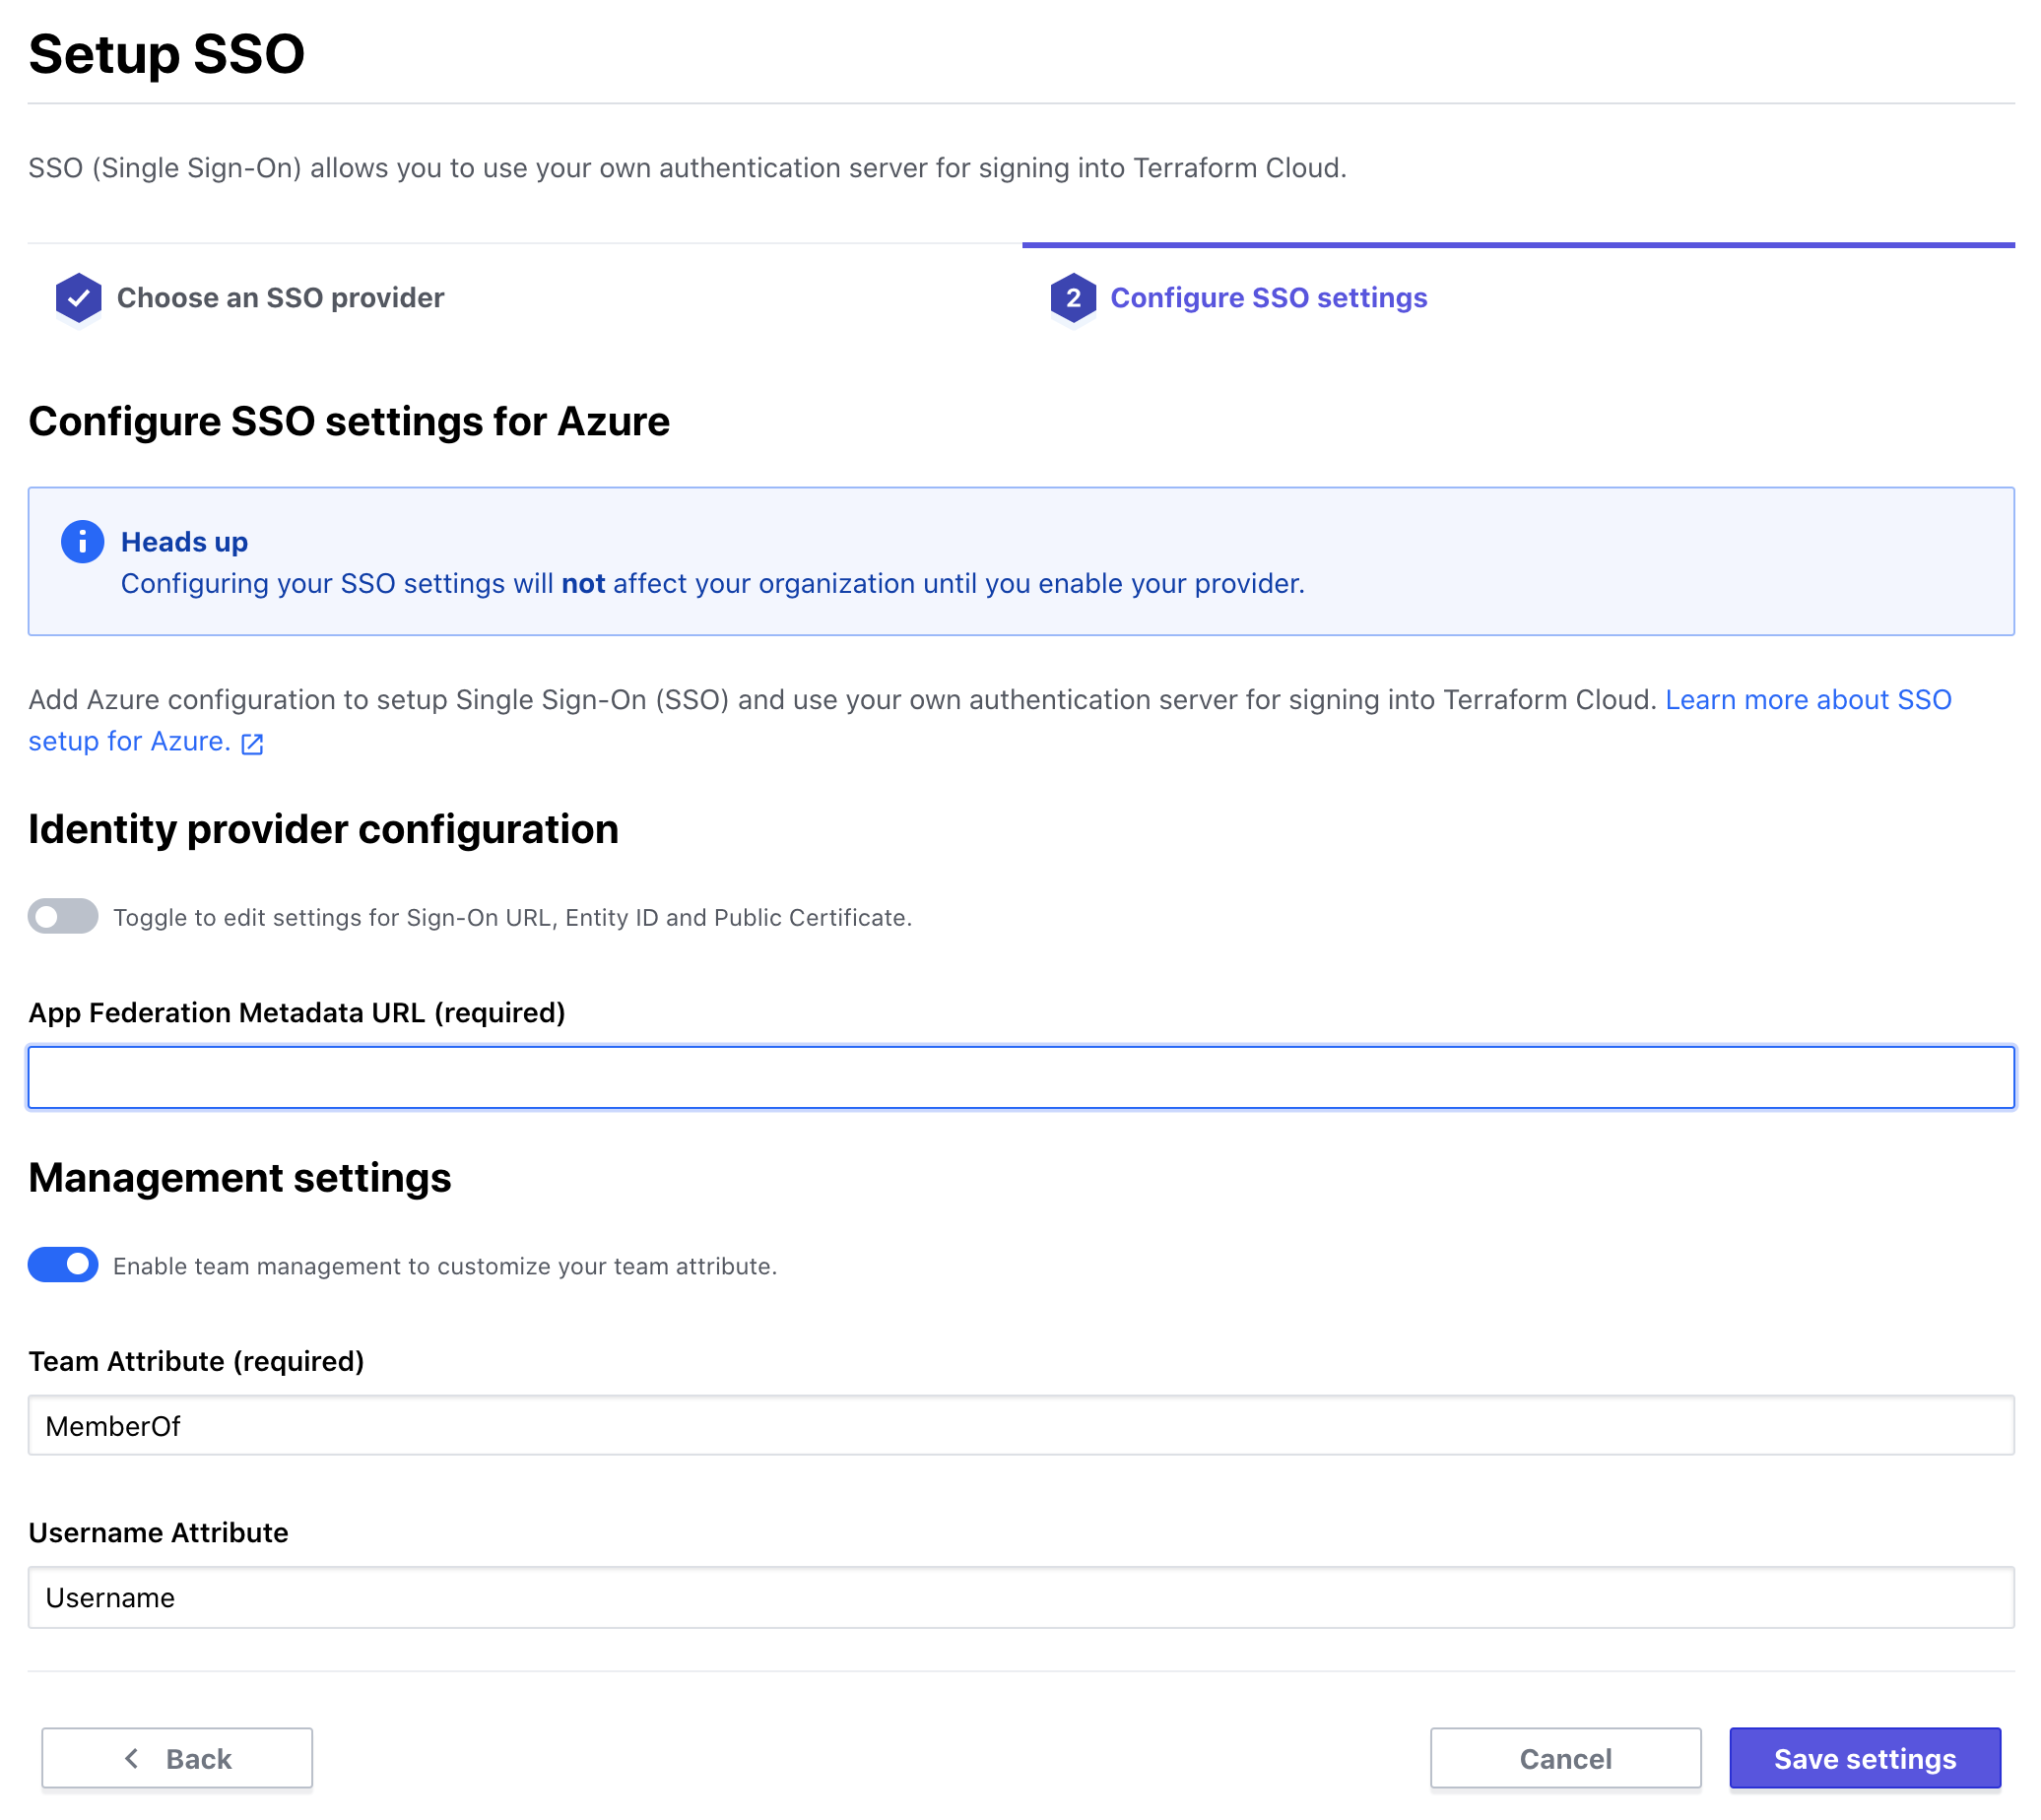
Provide your App Federation Metadata URL.

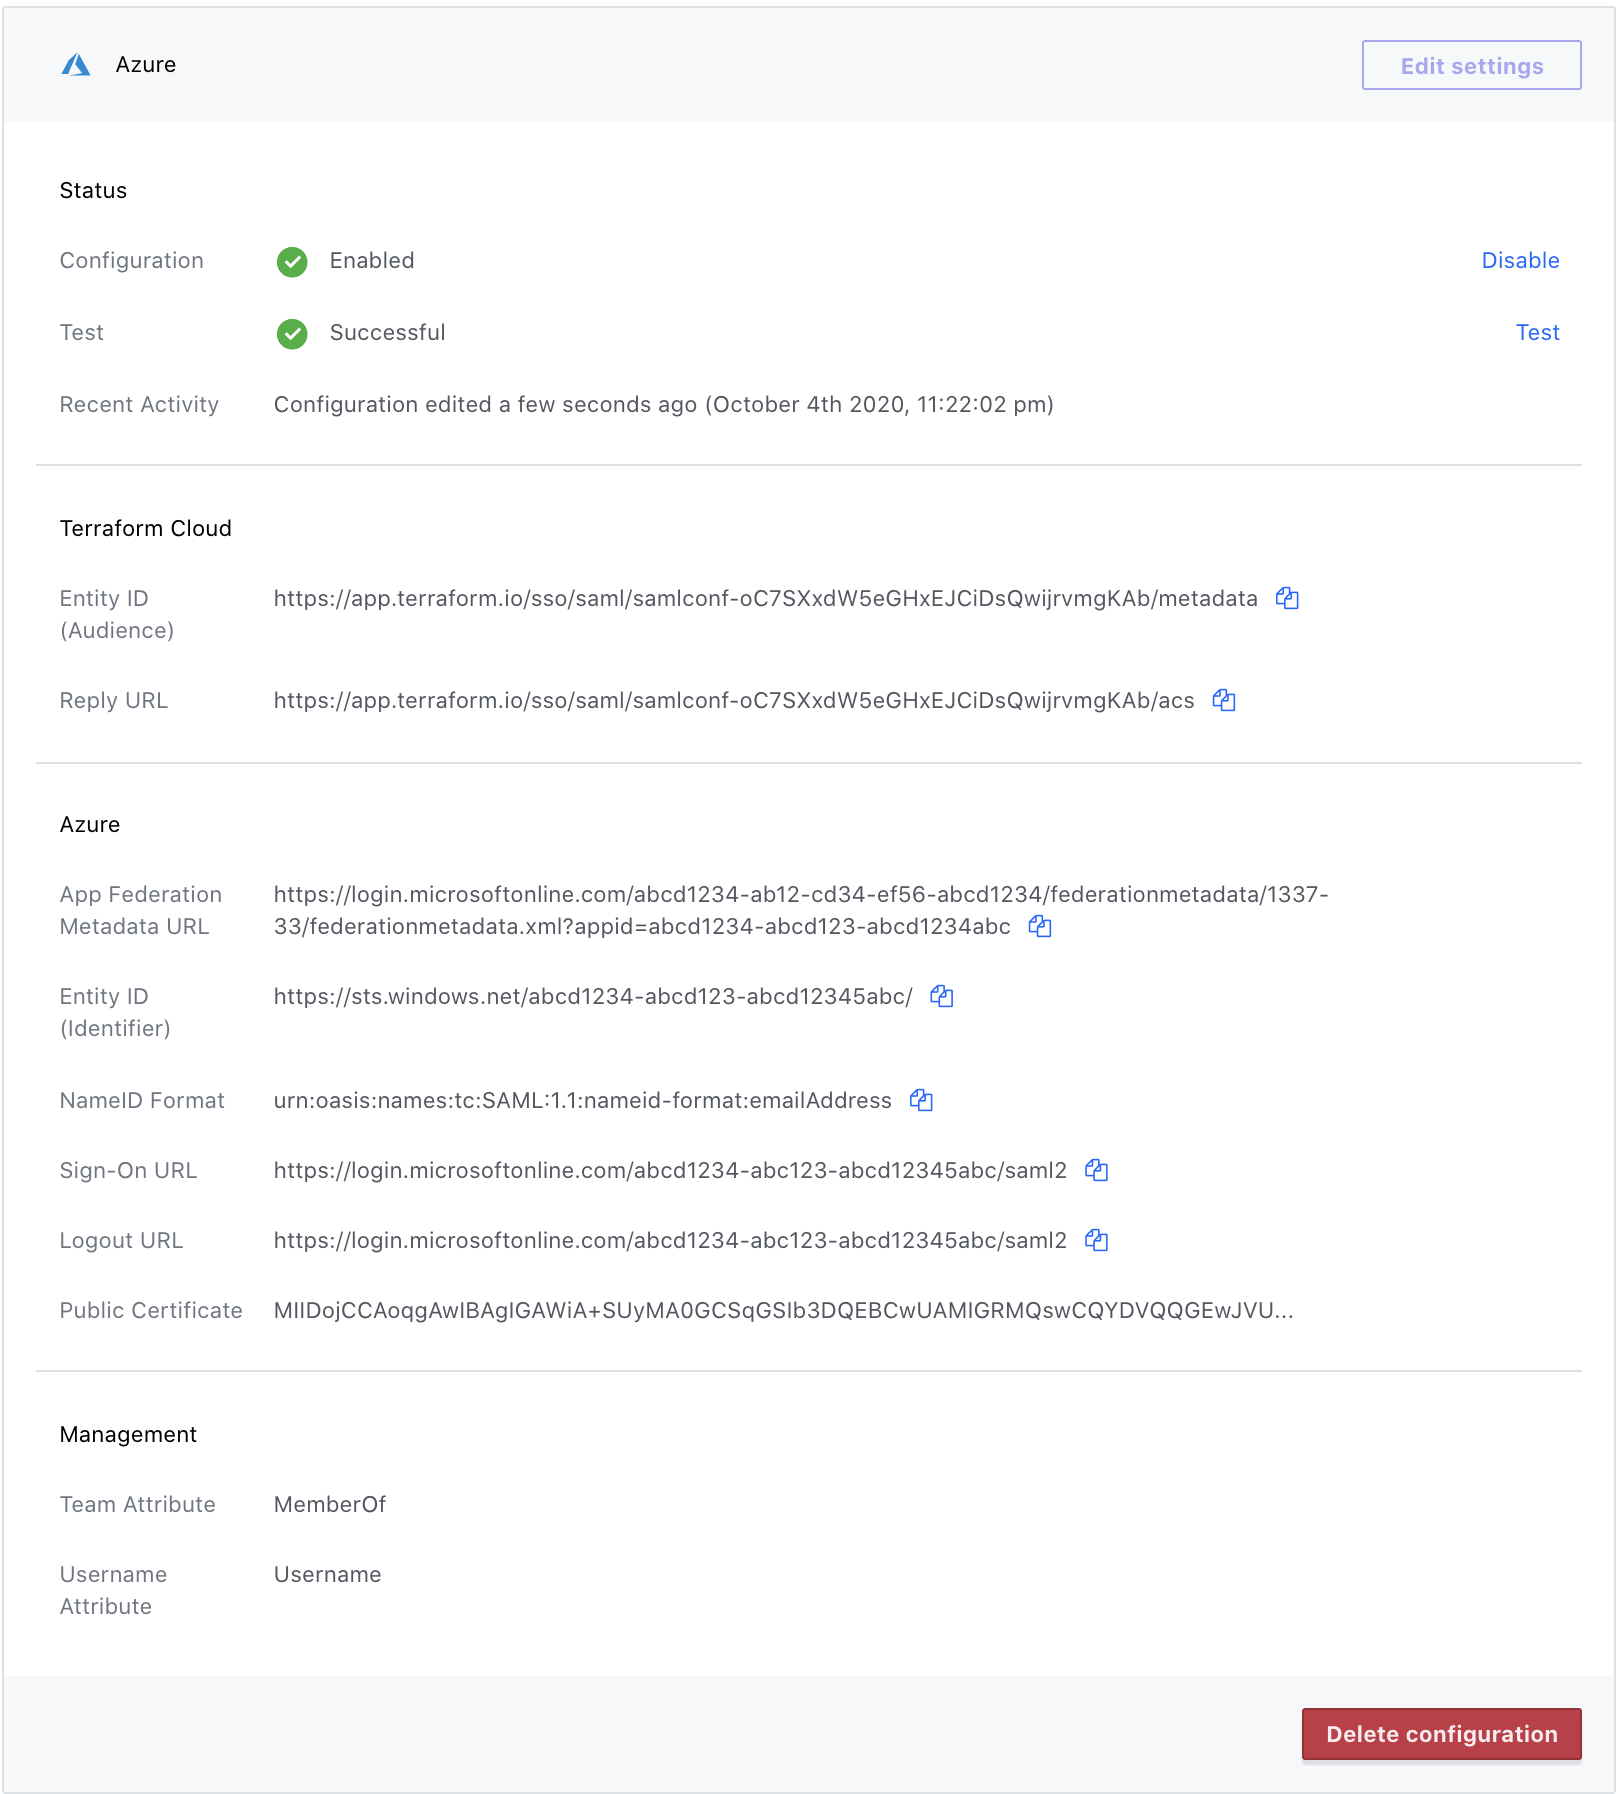
Save, and you should see a completed Terraform Cloud SAML configuration.
Copy Entity ID and Assertion Consumer Service URL.
» Configuration (Microsoft Azure AD)
- In the Azure portal, on the Terraform Cloud application integration page, find the Manage section and select single sign-on.
- On the Select a single sign-on method page, select SAML.
- On the Set up single sign-on with SAML page, click the edit/pen icon for Basic SAML Configuration to edit the settings.
- In the Identifier text box, paste the Entity ID.
- In the Reply URL text box, paste the Assertion Consumer Service URL.
- In the Sign-on URL text box, type the URL:
https://app.terraform.io/session - Select Save.
- In the app's overview page, find the Manage section and select Users and groups.
- Select Add user, then select Users and groups in the Add Assignment dialog.
- In the Users and groups dialog, select your user from the Users list, then click the Select button at the bottom of the screen.
- If you are expecting a role to be assigned to the users, you can select it from the Select a role dropdown. If no role has been set up for this app, you see "Default Access" role selected.
- In the Add Assignment dialog, click the Assign button.
» Configuration (Terraform Cloud)
» Team and Username Attributes
To configure team management in your Microsoft Azure AD application:
- Navigate to the single sign-on page.
- Edit step 2, "User Attributes & Claims."
We recommend naming it "MemberOf", leaving the namespace blank, and potentially sourcing
user.assignedrolesas an easy starting point.
If you plan to make use of SAML to set usernames in your Microsoft Azure AD application:
- Navigate to the single sign-on page.
- Edit step 2, "User Attributes & Claims."
We recommend naming the claim "Username", leaving the namespace blank, and sourcing something like
user.displaynameoruser.mailnickname.
If you namespaced any of your claims, note that the attribute name passed by Microsoft Azure AD will follow the form <claim_namespace/claim_name>. Consider this when setting Team and Username attribute names.
